Need help? We’re here!
Our expert customer service team is ready to help you with any questions or concerns you may have. Real time help is available Monday through Friday 9AM - 6PM EST- (888) 391-7165
- Chat live with support
- support@sheetlabels.com
At SheetLabels.com, customers can request samples of all of the products we currently offer.
Order Free Samples
Are you ready to add a personal touch to your candles or take your candle business to the next level with professional labels? We’re excited to guide you through how to make custom candle labels and help you craft an amazing AI prompt for writing the perfect candle description. These labels won’t just enhance your candles’ beauty—they’ll tell your brand’s unique story. In this comprehensive guide, we’ll walk together through each step—from selecting the right label size to printing your finished designs—so you can confidently make custom candle labels that make your candles truly shine.
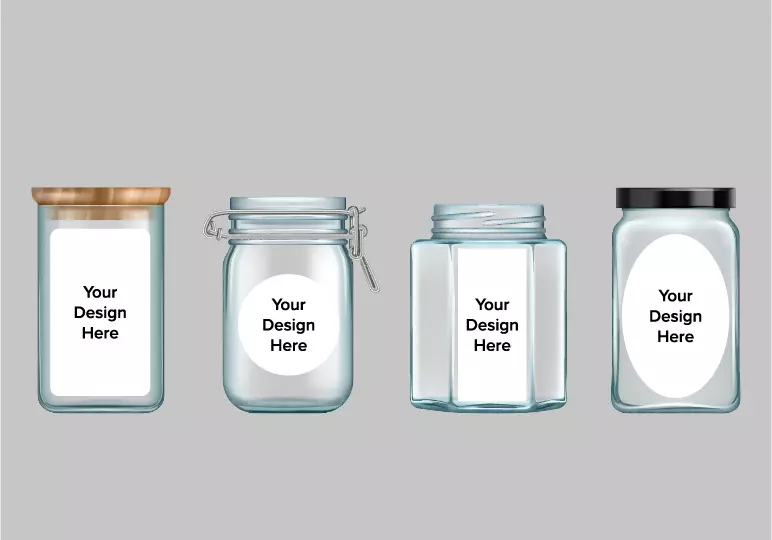
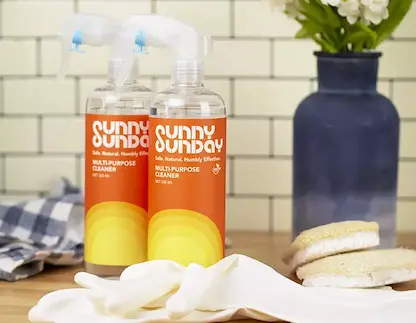
The journey begins with selecting the perfect label shape and size to make your custom candle labels. Start by choosing your candle container—maybe it’s a classic glass jar, a chic tin, or something uniquely you. Carefully measure the label area to determine the dimensions that will fit best. This ensures your label complements the container perfectly.
To make this step easier, we offer a handy Label Size Search Tool. It allows you to search by size range, exact dimensions, or labels per sheet. Searching within a size range opens up a variety of label types and sizes that fit your needs, giving you more options than an exact size search might provide.
Looking for inspiration? Check out our collection of Candle Label Templates. They’re designed to spark your creativity and help you find the perfect fit as you make custom candle labels.
Choosing the right material is crucial—it affects both the look and durability as you make custom candle labels. We offer a variety of material options suitable for candles:
Not sure which material is right for you? Our article on How to Choose the Correct Label Material for Your Project offers detailed insights to help you make the best choice when you make custom candle labels.
Now, let’s dive into the creative process! Designing your label is where your brand’s personality truly shines as you make custom candle labels.
We invite you to try our Online Design Tool. It’s free, user-friendly, and packed with fonts, shapes, and design elements to bring your vision to life. Plus, we offer a range of predesigned candle label templates to kickstart your creativity.
To ensure your labels look professional, keep essential elements—like text and images—within the safe zone of the template. This prevents anything important from being cut off during printing. If your design includes a background color or image, remember to include a bleed area so the background extends all the way to the edge.

You can learn more about safe zones and bleed areas in our help center.
Make sure your label tells your candle’s story. Include:
And don’t forget to highlight what makes your candles special. Are they made from 100% soy wax? Hand-poured with love? Crafted using pure essential oils? Sharing these details can set your candles apart and connect with your customers on a personal level as you make custom candle labels.
"Imagine lighting your candle for the first time and describe the unfolding aroma in vivid, sensory detail. Break down the fragrance into its top notes of {insert top notes}, heart notes of {insert heart notes}, and base notes of {insert base notes}. Explain how each layer contributes to the overall scent profile. Highlight the emotions, memories, or sensations each note evokes, and illustrate how they intertwine to create an immersive and engaging experience for your customers. Use rich and descriptive language to paint a picture that transports the reader into the very moment the candle is lit."
When describing your candle's fragrance, you can use the terms top notes, heart notes, and base notes to illustrate how the scent evolves over time.
Incorporating these terms, and guide your customers through an aromatic journey, helping them imagine the full sensory experience your candle offers.
"Now, condense your detailed fragrance description into a concise and captivating message suitable for a candle label. Focus on the key fragrance notes and the primary emotions or sensations they evoke. Aim for a brief yet evocative description that captures the essence of your candle and resonates with your customers."
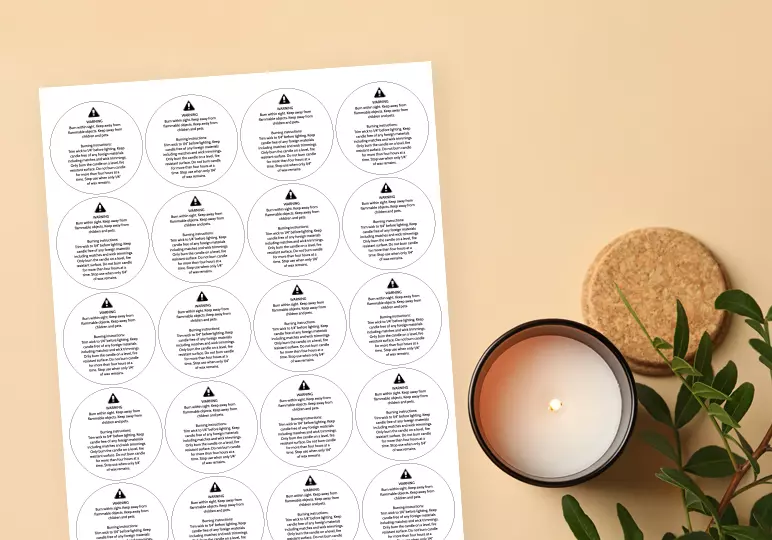
Safety is paramount, and we take it seriously. Include a warning label with safe burning instructions and necessary cautions like “Burn within Sight.” This information is often placed on a separate label adhered to the bottom or back of the candle.
To make this step effortless, we offer a predesigned candle warning label template. Simply choose your label shape and size, and you’re all set!
With your design complete, it’s time to bring your labels to life and make custom candle labels a reality.
For a polished and high-quality finish, consider using our custom label printing services. Our experts ensure superior print quality, which is especially beneficial for larger quantities or business needs. We take pride in delivering labels that make your products shine on the shelves and in your customers’ homes.
Before submitting your design, make sure your artwork is print-ready by following our artwork guidelines. We’re here to help ensure everything looks perfect.
Prefer a hands-on approach? You can print your labels at home using our premium materials. Refer to our at-home printing guide for detailed instructions. It’s a satisfying process that lets you see your creations come to life immediately as you make custom candle labels.
Now comes the moment you’ve been waiting for—applying your labels. Carefully adhere them to your candle containers, ensuring they are smooth and wrinkle-free. Stand back and admire your beautifully labeled candles! They’re now ready to impress customers, friends, or family.
Q: What size should my candle label be?
A: The size depends on your candle container. Measure the flat surface area where the label will be applied. Use our Label Size Search Tool to find the perfect fit within a range of sizes. This tool helps you explore various options that suit your specific needs when you make custom candle labels.
Q: What information is legally required on candle labels?
A: At a minimum, include safety warnings, manufacturer information, and any required compliance symbols. Refer to ASTM standards for detailed requirements to ensure your candles meet all safety guidelines. Including this information not only keeps your customers safe but also builds trust in your brand.
Q: How do I make my candle labels heat-resistant?
A: Use temperature-resistant materials like our Weatherproof or Vinyl Labels. These materials are designed to withstand the heat from burning candles, ensuring your labels remain intact and looking great even as the candle burns down.
Q: Can I get help with designing my label?
A: Absolutely! We’re here to support you every step of the way. Our Online Design Tool and Candle Design Templates are excellent resources to get you started. If you need personalized assistance, don’t hesitate to contact our Client Services Team. We’re happy to help!
Creating custom candle labels isn’t just about adding a name or logo—it’s about elevating your entire candle-making experience. When you make custom candle labels, you unlock a host of benefits that can enhance your brand and delight your customers.
In a crowded marketplace, custom candle labels help your products shine. Unique and personalized labels catch the eye, making customers more likely to choose your candles over others. By investing time to make custom candle labels, you set your brand apart.
Your labels are a reflection of your brand’s personality. Custom labels allow you to convey your brand’s story, values, and style. This consistent branding helps customers recognize and remember your products, fostering loyalty and repeat purchases.
When you make custom candle labels, you have full control over the information presented. You can clearly display scent descriptions, burn times, and safety instructions, ensuring customers have all the details they need to enjoy your candles safely and fully.
High-quality, custom labels can significantly increase the perceived value of your candles. Customers often associate professional packaging with superior product quality. By creating custom candle labels, you can justify premium pricing and improve profitability.
Making custom candle labels gives you the freedom to express your creativity. Whether you’re crafting a special edition for a holiday or personalizing candles for an event, custom labels make your products unique and memorable.
Professional labels that include all necessary information and reflect a cohesive brand image build trust with your customers. When you make custom candle labels that look polished and informative, customers feel confident in their purchase.
Custom labels allow you to quickly adapt to market trends and customer preferences. You can experiment with new designs, colors, or messages without the constraints of pre-made labels, keeping your brand fresh and relevant.
By choosing to make custom candle labels, you’re investing in the success and growth of your candle business. The benefits are substantial—from standing out in the market to building a loyal customer base. Let’s embark on this creative journey together and make your candles shine brighter than ever!
We believe that with this guide, you have all the tools you need to make custom candle labels that are stunning and unique. Whether you’re personalizing gifts for loved ones or branding products for your business, the perfect label makes all the difference. Let’s bring your vision to life together!
If you need any assistance or have questions along the way, please don’t hesitate to contact our Client Services Team. Our dedicated representatives are here to help and excited to see what you create.
Found this guide helpful? Share it with fellow candle enthusiasts! We’d love to see how you make custom candle labels. Show us your beautifully labeled candles on social media using the hashtag #SheetLabelsCandles. Let’s inspire each other!